snmp_agent_uptime
Quick instructions
Set up three virtual computers, SimpleArbiter with the disk image
simpleArbiterDhcp, SNMPServer and SNMPClient. Write a program
called upminutes. This program should output the uptime of the
computer in minutes. Set it up on SNMPClient in the home directory
of the user test with the password test.
Make sure that the SNMP server reports it's uptime in seconds
over SNMP under NET-SNMP-EXTEND-MIB::nsExtendOutput2Table.
Write a script called beri.sh that reads the value from the
OID 1.3.6.1.4.1.8072.1.3.2.4.1.2 on SNMPServer. Set it up on
SNMPClient in the home directory of the user test.
Instructions
Set up of VM VirtualBox
-
Download the following virtual images (*.vid) from the directory
with images of virtual computers:
-
simpleArbiterDhcp.vdi
-
some-bash-console.vdi – twice, one for SNMPServer
and second for SNMPClient
-
VM VirtualBox WARNING! If you want to use one same virtual image
(some-bash-console.vdi) for two virtual computers
(SNMPServer and SNMPClient), you must change UUID
of one image.
-
Use this command
vboxmanage internalcommands sethduuid name-of-disk.vdi
to change UUID (hint).
-
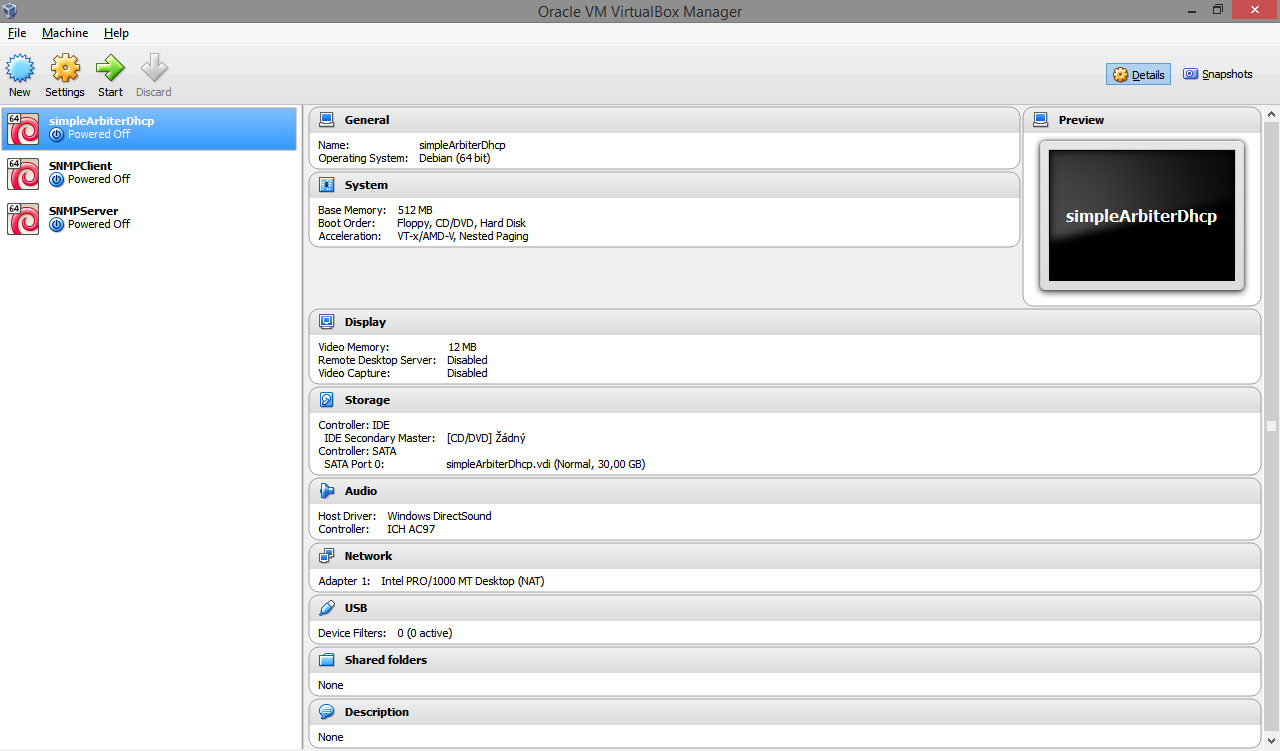
Final view of sets VM VirtualBox machines.
Set up of SNMPServer machine
-
setup network as “Bridged Adapter” -> Machine-> Settings ->Network
Install snmpd and snmp packages and tools for inspecting the
data available over SNMP.
-
command apt-get install snmpd snmp snmp-mibs-downloader
-
RECOMMENDATION! Before doing any changes to your /etc/snmp/snmpd.conf
file take a copy of original file.
-
command cp /etc/snmp/snmpd.conf /etc/snmp/snmpd.conf.orig
-
Set up the snmp server to allow all other computers to access it = edit
snmpd.conf file.
-
command nano /etc/snmp/snmpd.conf
(you can use different editor)
-
Check this 4 rows and make sure they look like this:
# Listen for connections from the local system only
# agentAddress udp:127.0.0.1:161
# Listen for connections on all interfaces (both IPv4 *and* IPv6)
agentAddress udp:161,udp6:[::1]:161
-
Add a group (community) of computers we deem to be worthy of
accessing all data. This group will be called students = again edit
snmpd.conf file.
-
rocommunity students 0.0.0.0/0
-
change 0.0.0.0./0 into correct address ifconfig -a
-
OPTIONAL CONFIGURATION. Lower in the same file you can set the
location of the computer snmpd is running on and the name
of the administrator.
-
find under # SYSTEM INFORMATION
-
Make sure that the SNMP server reports it's uptime in seconds
over SNMP under NET-SNMP-EXTEND-MIB::nsExtendOutput2Table.
-
create script upseconds containing this and save it where
you want:
#!/bin/bash
uptime=$(</proc/uptime)
seconds=${uptime%%.*}
echo $seconds
exit 0
-
don't forget to make the script runnable:
command chmod +x /your_path_to_script/upseconds
-
Then edit file snmpd.conf and under # EXTENDING THE AGENT
comment all three tests and add your line of your code
with upsecond script. It will look like this:
# extend test1 /bin/echo Hello, world!
# extend-sh test2 echo Hello, world! ; echo Hi there ; exit 35
# extend-sh test3 /bin/sh /tmp/shtest
extend-sh "your_name" "your_path_to_script_upseconds"
-
You need to restart the snmp services.
-
command /etc/init.d/snmpd restart
-
You can test your configuration through localhost.
-
command snmpwalk localhost -c public -v1
-
Also test the correct return of server's uptime in seconds SNMP under
NET-SNMP-EXTEND-MIB::nsExtendOutput2Table.
-
command snmpwalk -c students -v1 IPaddressOfServer
1.3.6.1.4.1.8072.1.3.2.4.1.2
Set up of SNMPClient machine
-
Install snmpd and snmp packages.
-
command apt-get install snmpd snmp
-
RECOMMENDATION! Before doing any changes to your /etc/snmp/snmpd.conf
file take a copy of original file.
-
command cp /etc/snmp/snmpd.conf /etc/snmp/snmpd.conf.orig
-
Set up the snmp client to allow all other computers to access it = edit
snmpd.conf file.
-
command nano /etc/snmp/snmpd.conf
(you can use different editor)
-
(un)comment these four lines as below:
# Listen for connections from the local system only
# agentAddress udp:127.0.0.1:161
# Listen for connections on all interfaces (both IPv4 *and* IPv6)
agentAddress udp:161,udp6:[::1]:161
-
Add a group (community) of computers we deem to be worthy of
accessing all data. This group will be called students = again edit
snmpd.conf file.
-
rocommunity students 0.0.0.0/0
-
write correct network address = command ifconfig -a
-
OPTIONAL CONFIGURATION. Lower in the same file you can set the
location of the computer snmpd is running on and the name
of the administrator.
-
find under # SYSTEM INFORMATION
-
You need to restart the snmp services.
-
command /etc/init.d/snmpd restart
-
You can test your configuration through localhost.
-
command snmpwalk localhost -c public -v1
- Create the user test with password test
-
command adduser test
- Login as user test and create program upminutes
in the home directory. This program should output the uptime of the
computer in minutes.
-
command nano upminutes (you can use different editor)
-
add the source code:
#!/bin/bash
uptime=$(</proc/uptime)
uptime=${uptime%%.*}
minutes=$(( uptime / 60 ))
echo $minutes
exit 0
-
don't forget to make the program runnable:
command chmod +x /home/test/upminutes
-
test the program (it should output the uptime of the
computer in minutes)
command /home/test/upminutes
- As user test and create next script called
beri.sh that reads the value from the OID
1.3.6.1.4.1.8072.1.3.2.4.1.2. on SNMPServer. Set it up on SNMPClient
in the home directory of the user test.
-
command nano beri.sh (you can use different editor)
-
add the source code:
#!/bin/bash
snmpwalk -c students -v1 IPServerAddress 1.3.6.1.4.1.8072.1.3.2.4.1.2
exit 0
-
don't forget to make the program runnable:
command chmod +x /home/test/upminutes
you can test it with ./beri.sh
Setting SimpleArbiter
User: tester
Password: test
apt-get install libsnmp-python